Blog
The Ultimate Guide to Cleaning and Storing Cutting Boards
Cutting boards are essential tools in any kitchen, providing a stable surface for food preparation. However, they can also harbor bacteria if not cleaned and stored properly. Understanding how to clean, maintain, and store cutting boards is crucial for food safety and longevity. This comprehensive guide will walk you through the best practices for keeping your cutting boards in top condition.
1. Types of Cutting Boards
Before diving into cleaning and storage techniques, it’s essential to understand the different types of cutting boards and their unique care requirements.
1.1. Wood Cutting Boards
Characteristics:
- Made from hardwoods like maple, walnut, or cherry.
- Durable and gentle on knife edges.
Care Notes:
- They require special care to maintain their integrity and prevent warping.
1.2. Plastic Cutting Boards
Characteristics:
- Made from polyethylene or polypropylene.
- Often dishwasher safe and less porous than wood.
Care Notes:
- Generally more resistant to stains and odors but can develop deep cuts over time.
1.3. Bamboo Cutting Boards

Characteristics:
- Eco-friendly option, made from fast-growing bamboo.
- Harder than wood and often lighter.
Care Notes:
- Requires similar care to wooden boards but may be more prone to cracking if not maintained properly.
1.4. Glass and Marble Cutting Boards
Characteristics:
- Non-porous and easy to clean.
- Often used for serving rather than heavy cutting.
Care Notes:
- Can dull knife blades quickly and may break if dropped.
2. Cleaning Cutting Boards
2.1. Daily Cleaning
Regardless of the material, cutting boards should be cleaned after each use.
Steps:
- Rinse: Immediately rinse off any food particles under warm water.
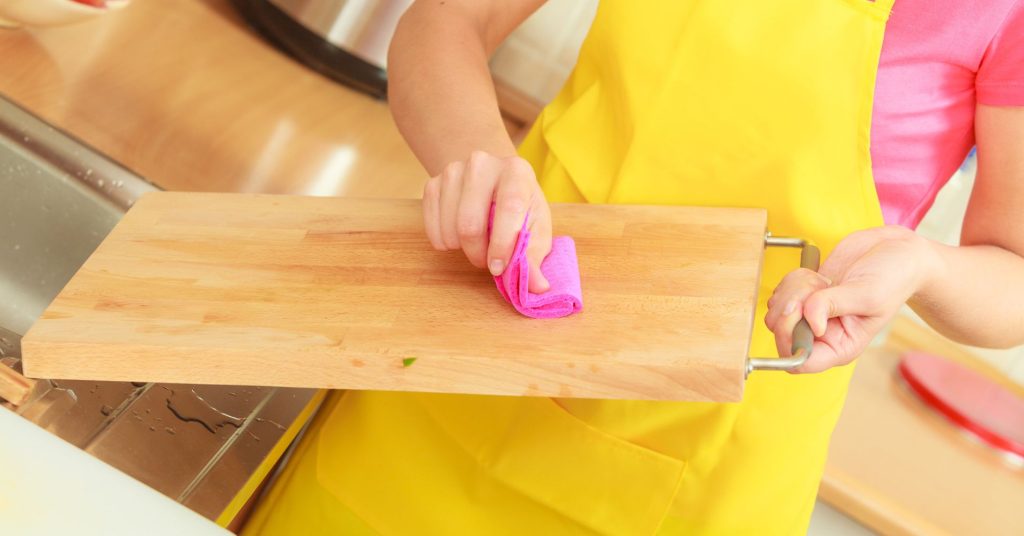
- Scrub: Use a mild dish soap and a sponge or cloth to scrub the surface thoroughly.
- Rinse Again: Rinse with warm water to remove soap residue.
- Dry: Wipe the board dry with a clean towel or let it air dry upright.
2.2. Deep Cleaning
For more thorough cleaning, especially after cutting raw meat or fish, follow these steps:
Steps:
- Sanitize: Mix a solution of one tablespoon of bleach in one gallon of water or use a food-safe sanitizer. Apply the solution to the board.
- Let It Sit: Allow the solution to sit for a few minutes to kill bacteria.
- Rinse: Rinse thoroughly with warm water.
- Dry: Wipe dry or let air dry.
2.3. Removing Stains and Odors
Stains and odors can develop over time, especially on wooden and plastic boards.
Techniques:
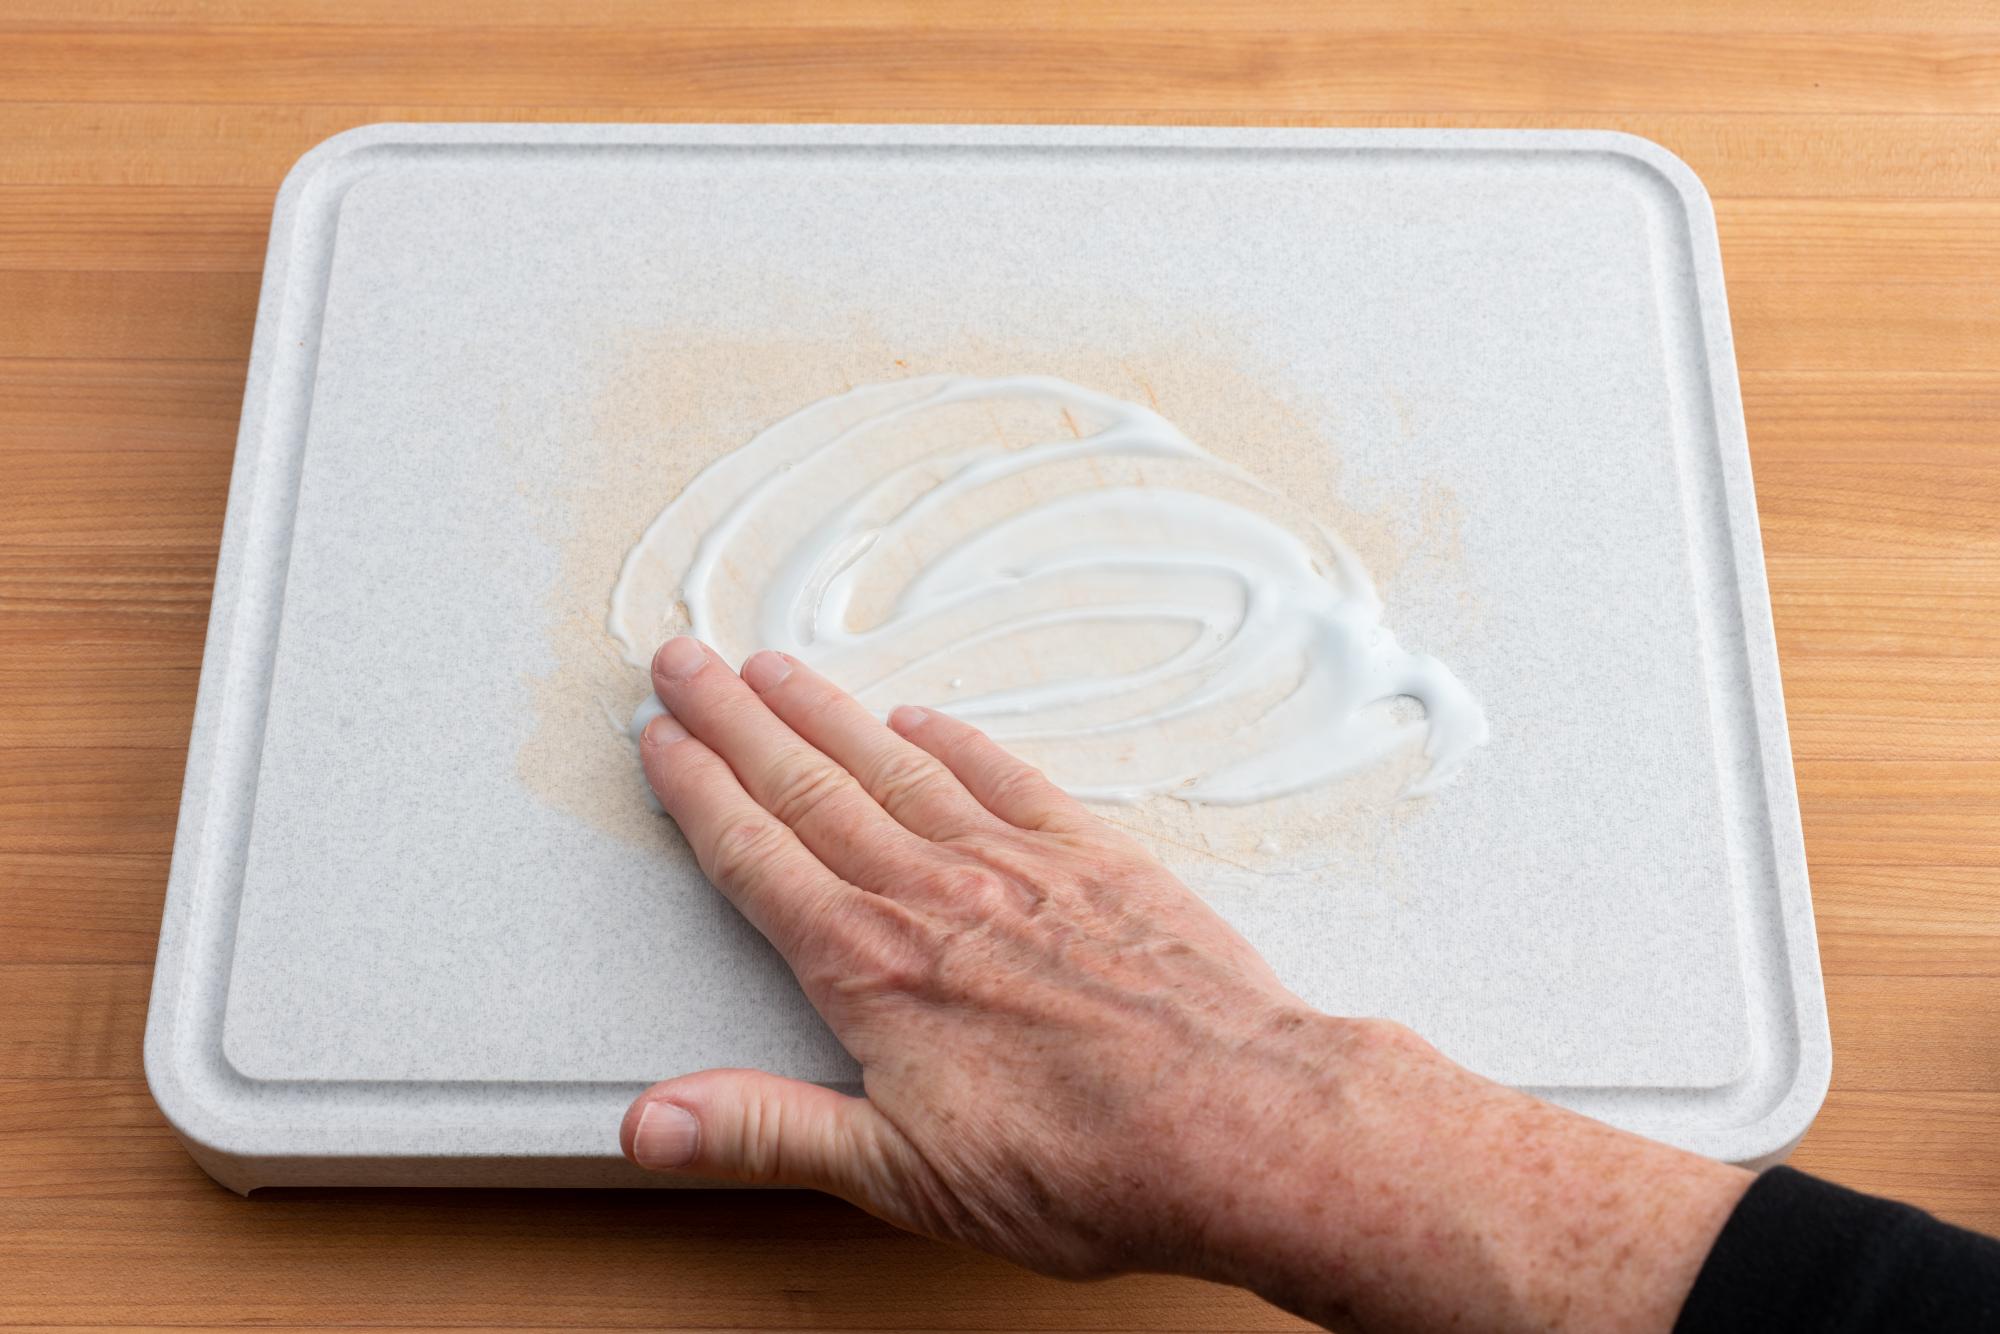
- Baking Soda Paste: Mix baking soda with water to form a paste. Apply it to the stained areas and scrub gently. Rinse well afterward.
- Lemon Juice: For odors, rub the surface with half a lemon. The acidity helps neutralize smells.
- Vinegar: White vinegar can also be used to wipe down boards. It’s a natural disinfectant and deodorizer.
2.4. Oil Treatment for Wooden Boards
To maintain wooden cutting boards, regular oiling is necessary to prevent drying and cracking.
Steps:
- Choose the Right Oil: Use food-grade mineral oil or a specialized cutting board oil. Avoid vegetable oils, as they can go rancid.
- Apply Oil: Pour a small amount of oil onto the board and rub it in using a clean cloth or paper towel. Ensure even coverage.
- Let It Soak: Allow the oil to soak in for at least 20 minutes or overnight for better penetration.
- Wipe Off Excess: After soaking, wipe off any excess oil with a clean cloth.
3. Storing Cutting Boards
Proper storage is as important as cleaning for maintaining cutting boards.
3.1. Vertical Storage
Advantages:
- Keeps boards dry and allows air circulation, reducing the risk of moisture buildup and bacteria growth.
How To:
- Use a dedicated rack or a dish drying rack to store boards vertically. This method is especially effective for wooden boards.
3.2. Horizontal Storage
Advantages:
- Suitable for smaller kitchens where vertical space is limited.
How To:
- Stack boards flat, placing a cloth or paper towel between them to absorb moisture. Ensure they are completely dry before stacking to prevent warping.
3.3. Avoiding Moisture
Tips:
- Do not store cutting boards in damp environments, such as under sinks or in closed cabinets without ventilation.
- Ensure that boards are completely dry before storing them.
4. Maintaining Cutting Boards
4.1. Regular Inspection
Why:
- Regularly inspect boards for signs of wear, such as deep grooves, cracks, or warping.
What To Do:
- Replace boards that are excessively worn or damaged, as they can harbor bacteria.
4.2. Avoiding Cross-Contamination

Best Practices:
- Use separate boards for raw meat and other foods like fruits and vegetables to prevent cross-contamination.
- Color-code your boards if possible (e.g., red for meat, green for vegetables).
4.3. Educating Household Members
Importance:
- Educate everyone in the household on proper cutting board care and hygiene practices.
How To:
- Share cleaning routines and the importance of using separate boards for different food types.
5. When to Replace Cutting Boards
Even with proper care, cutting boards have a lifespan.
5.1. Signs of Wear
Indicators:
- Deep cuts or grooves that can harbor bacteria.
- Cracks or splits in wooden boards.
- Unpleasant odors that persist despite cleaning.
5.2. Recommendations
Replacement Timeline:
- Plastic boards can last several years but should be replaced if they become excessively worn.
- Wooden boards may last longer with proper care but should be replaced if they develop significant damage.
6. Conclusion
Cleaning and storing cutting boards properly is essential for food safety and the longevity of these vital kitchen tools. By understanding the different types of cutting boards and their care requirements, you can ensure your kitchen remains hygienic and organized. Regular cleaning, proper storage, and maintenance routines will help you enjoy your cutting boards for years to come.
Investing time in proper care not only enhances your cooking experience but also promotes a healthier kitchen environment. With these tips, you can confidently handle your cutting boards and maintain their quality and functionality. Happy cooking!


